|
|
We help you make beautiful greetings cards | ||
| | Free Projects | Contact Us | | |||
|
|
Home - Projects - Tea Bag Cards - Pansy corners card Pansy corners card
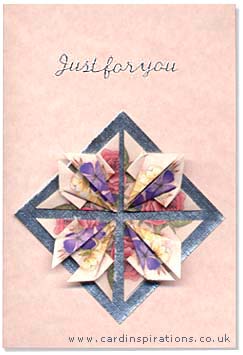
DescriptionA single fold card has four pansy pattern tea bag paper squares folded into triangular shapes, mounted on a square of silver card. The card is finished with a Just for you sticker. Materials used
Method
Paper folding chart. Click here for a bigger picture.
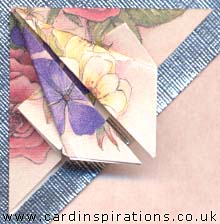
Close view of fold You will need four pieces of tea bag paper 4cm x 4cm (1.5in x 1.5in). The green shaded areas represent the right side of the paper, the white areas the wrong side of the paper. It is easier to work on a cutting mat with a grid marked on it or on a piece of paper with a cross marked on it (preferably a coloured piece of paper). The dotted lines represent folds you are about to make, the solid lines represent folds you have already made. Fold your tea bag paper as shown in the chart. In diagrams 1 and 2 you are creating creases by folding and unfolding. 1. Fold the paper into half and then unfold it. Fold in half the other way and unfold it. 2. Turn the paper over and fold from corner to corner then unfold it. Fold the other two corners together then unfold it. 3. Fold the lower half up and the outer edges into the centre, manipulating the creased paper into shape 4. 5. Fold the lower point to the top. 6 & 7. The fold is now opened out and flattened. To do this grip the tip of the small triangle you have just folded up together with the front part of the folded paper. Hold the back of the fold on your work surface and pull the front towards you. The fold opens with the left and right inside folds sticking up. Push these to either side as you continue open the fold. Keep going until the front is flat on the work surface. 8. Manipulate the side folds until they too are flat and form triangles. 9. Fold the lower edge to the top edge. The triangle folded up in step 5 remains on the work surface. The shape is similar to step 5 but you have now created two square pockets inside the fold. 10. Fold the front left hand edge to almost the centre. Fold the front right hand edge to almost the centre. 11. The finished fold. Fold a total of four squares of tea bag paper. Stick the square of silver card to the front of the pink greetings card at an angle of 45 degrees. Assemble the four folded tea bags on the silver square as the picture above. Fix the pieces in place with adhesive. Add the "Just for you" sticker. * The tea bag paper used in this project has been discontinued by the manufacturer.
Pansy corners card made by Linda Jefferson. The Just for you sticker is reproduced here by kind permission of the copyright owners and may not be reproduced elsewhere without their permission. Pansy corners card project posted August 2000.
|
| | Privacy | Terms | Links | |
|
E-mail
contact
form. |